Find the direction you are facing
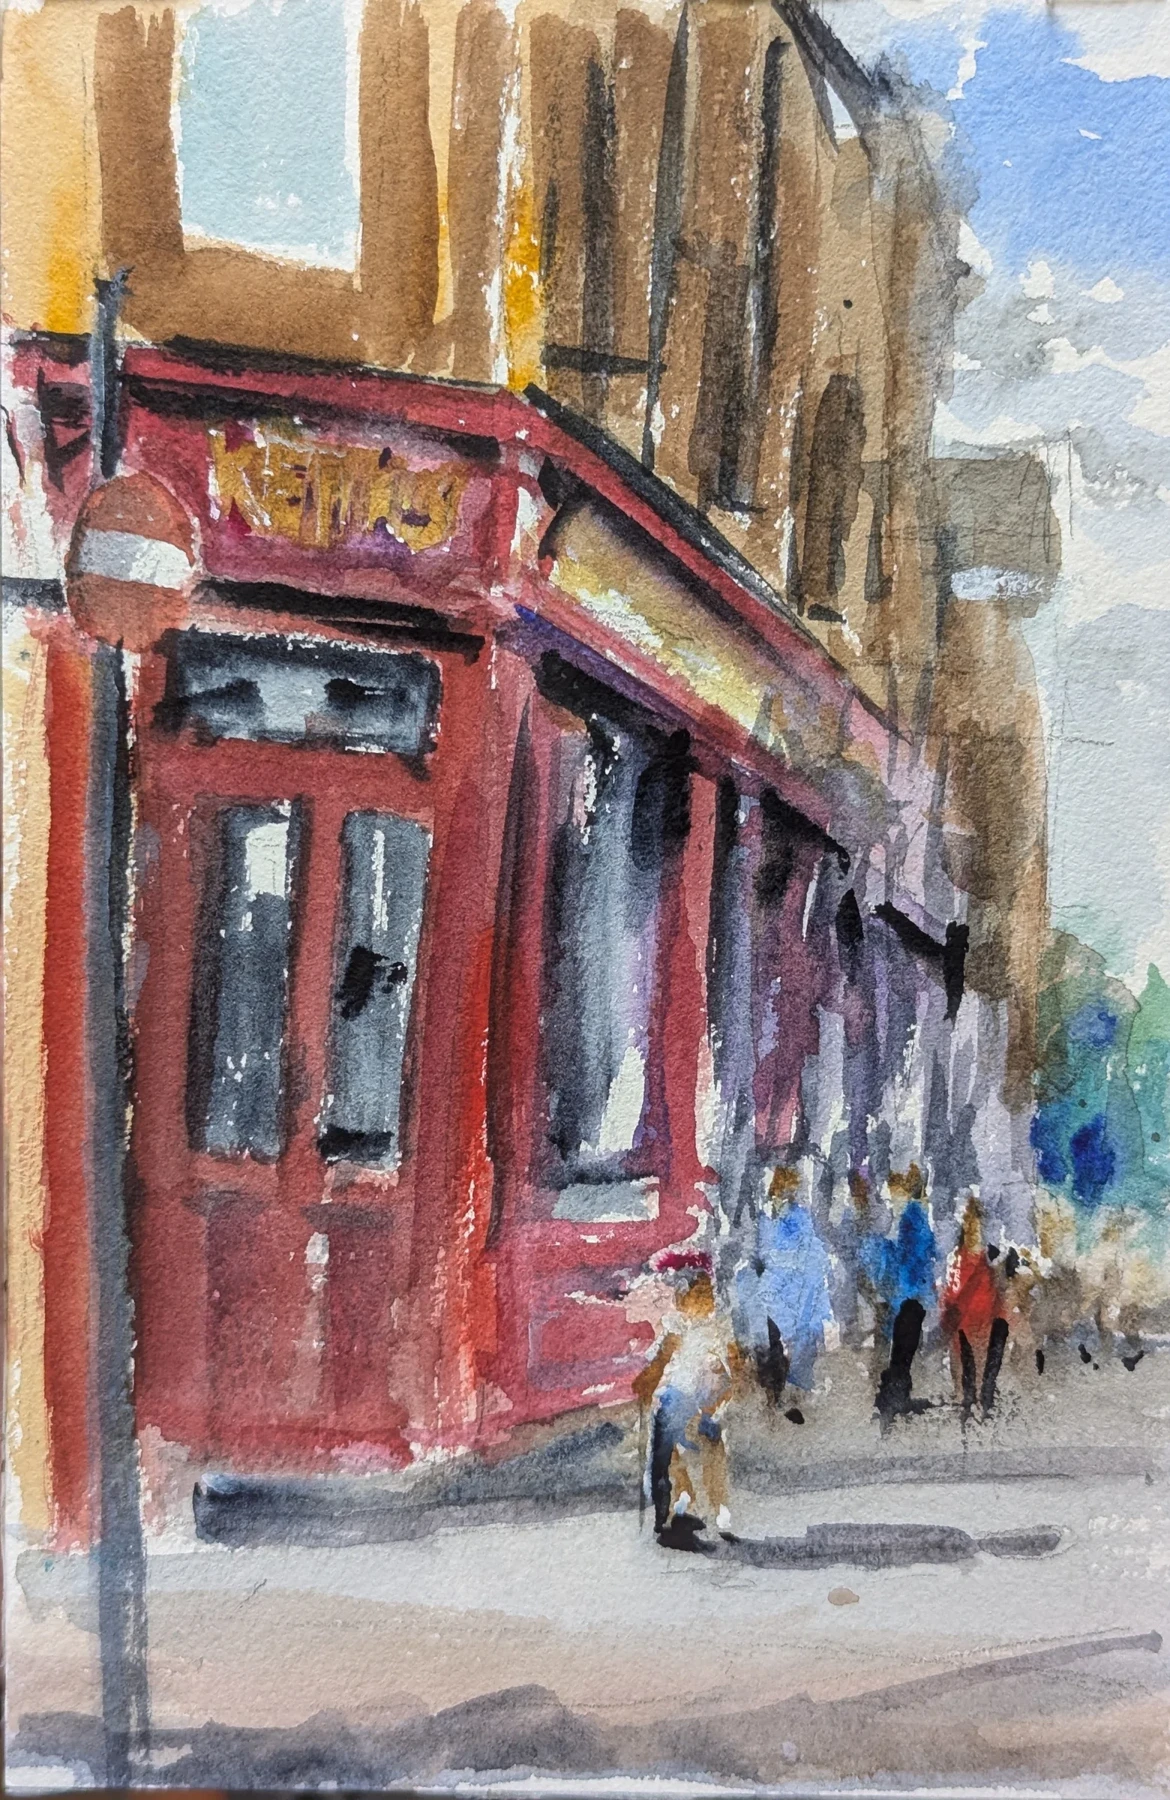
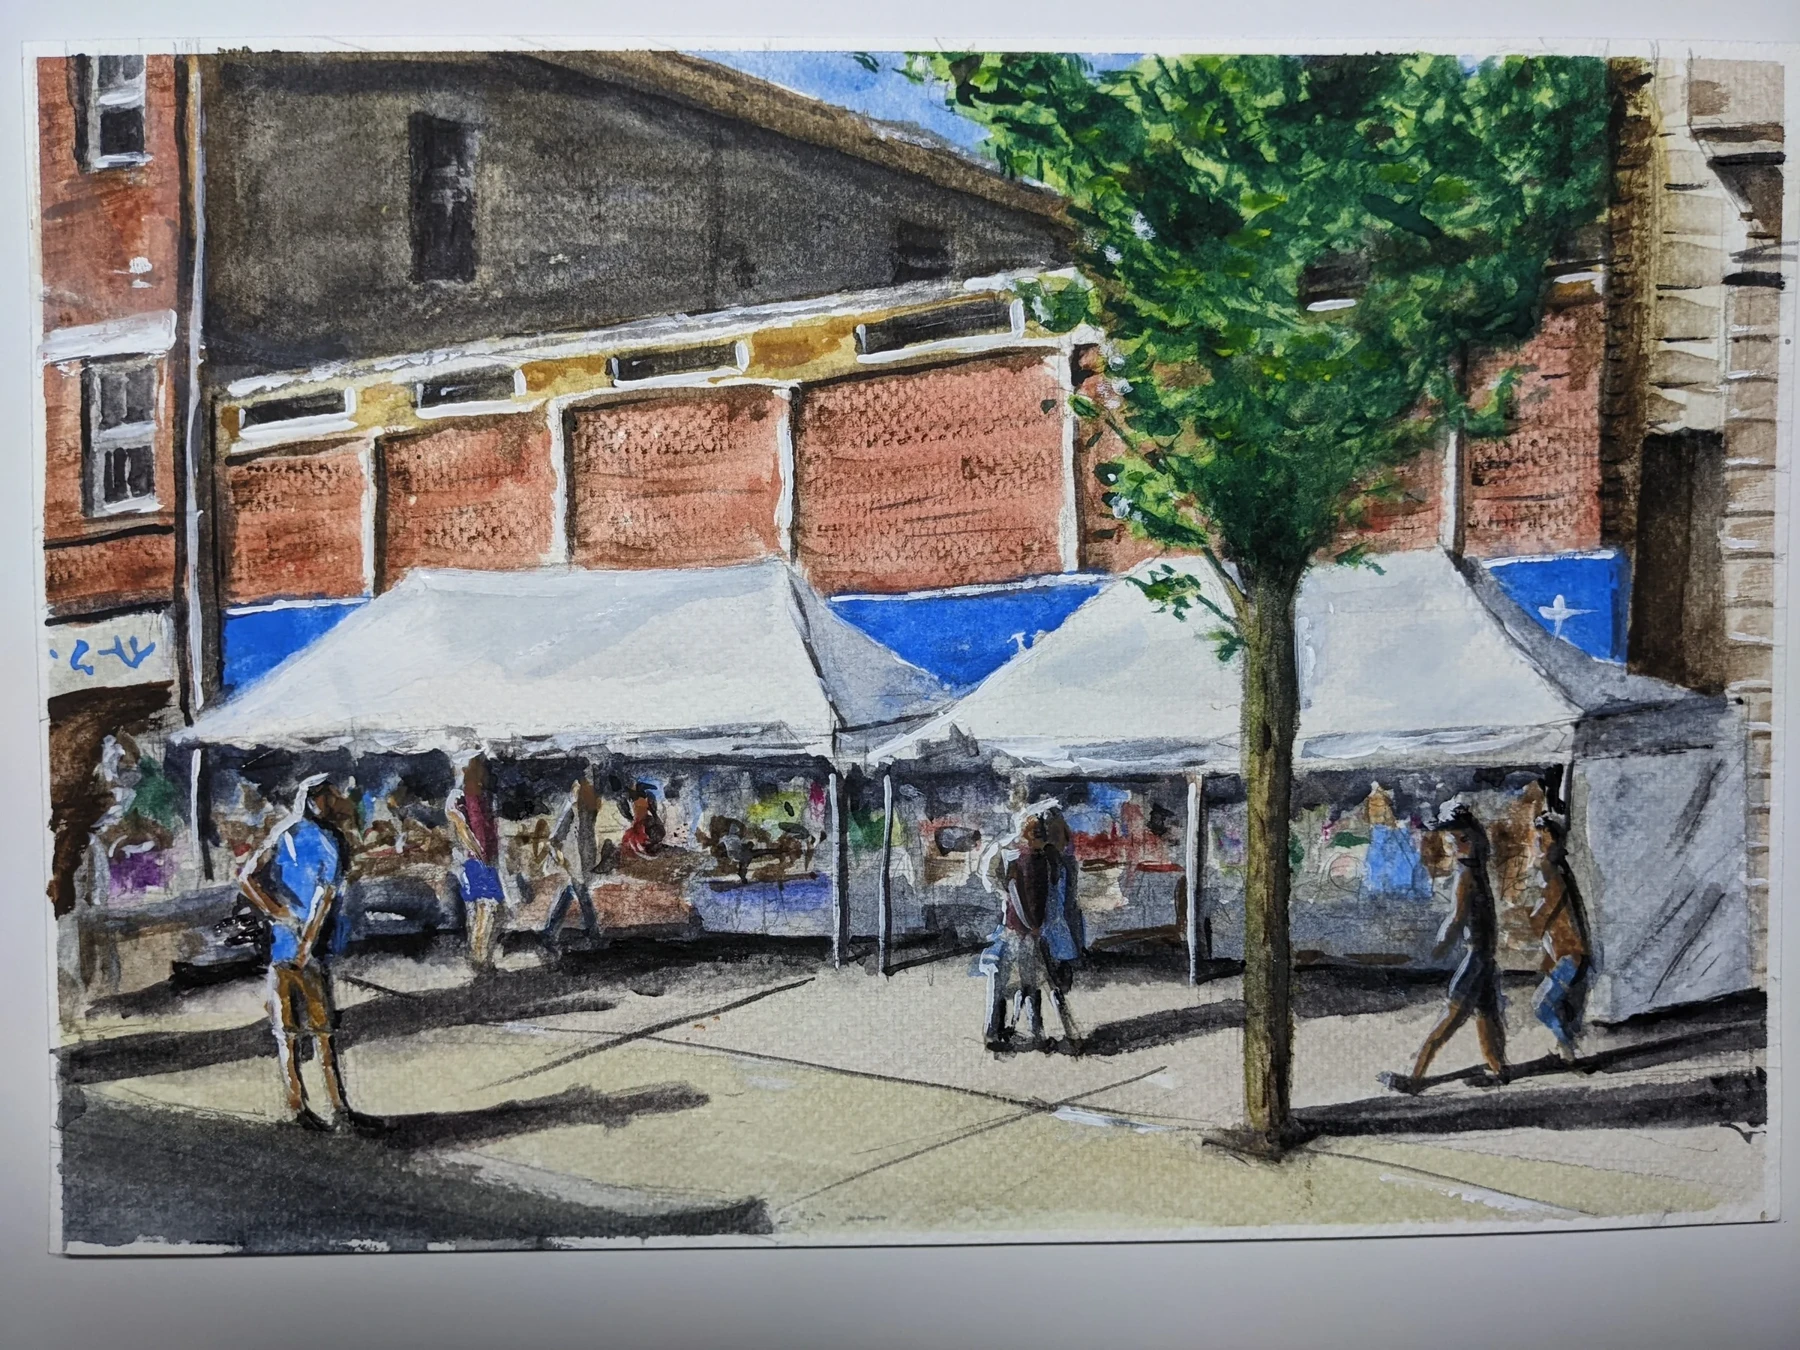
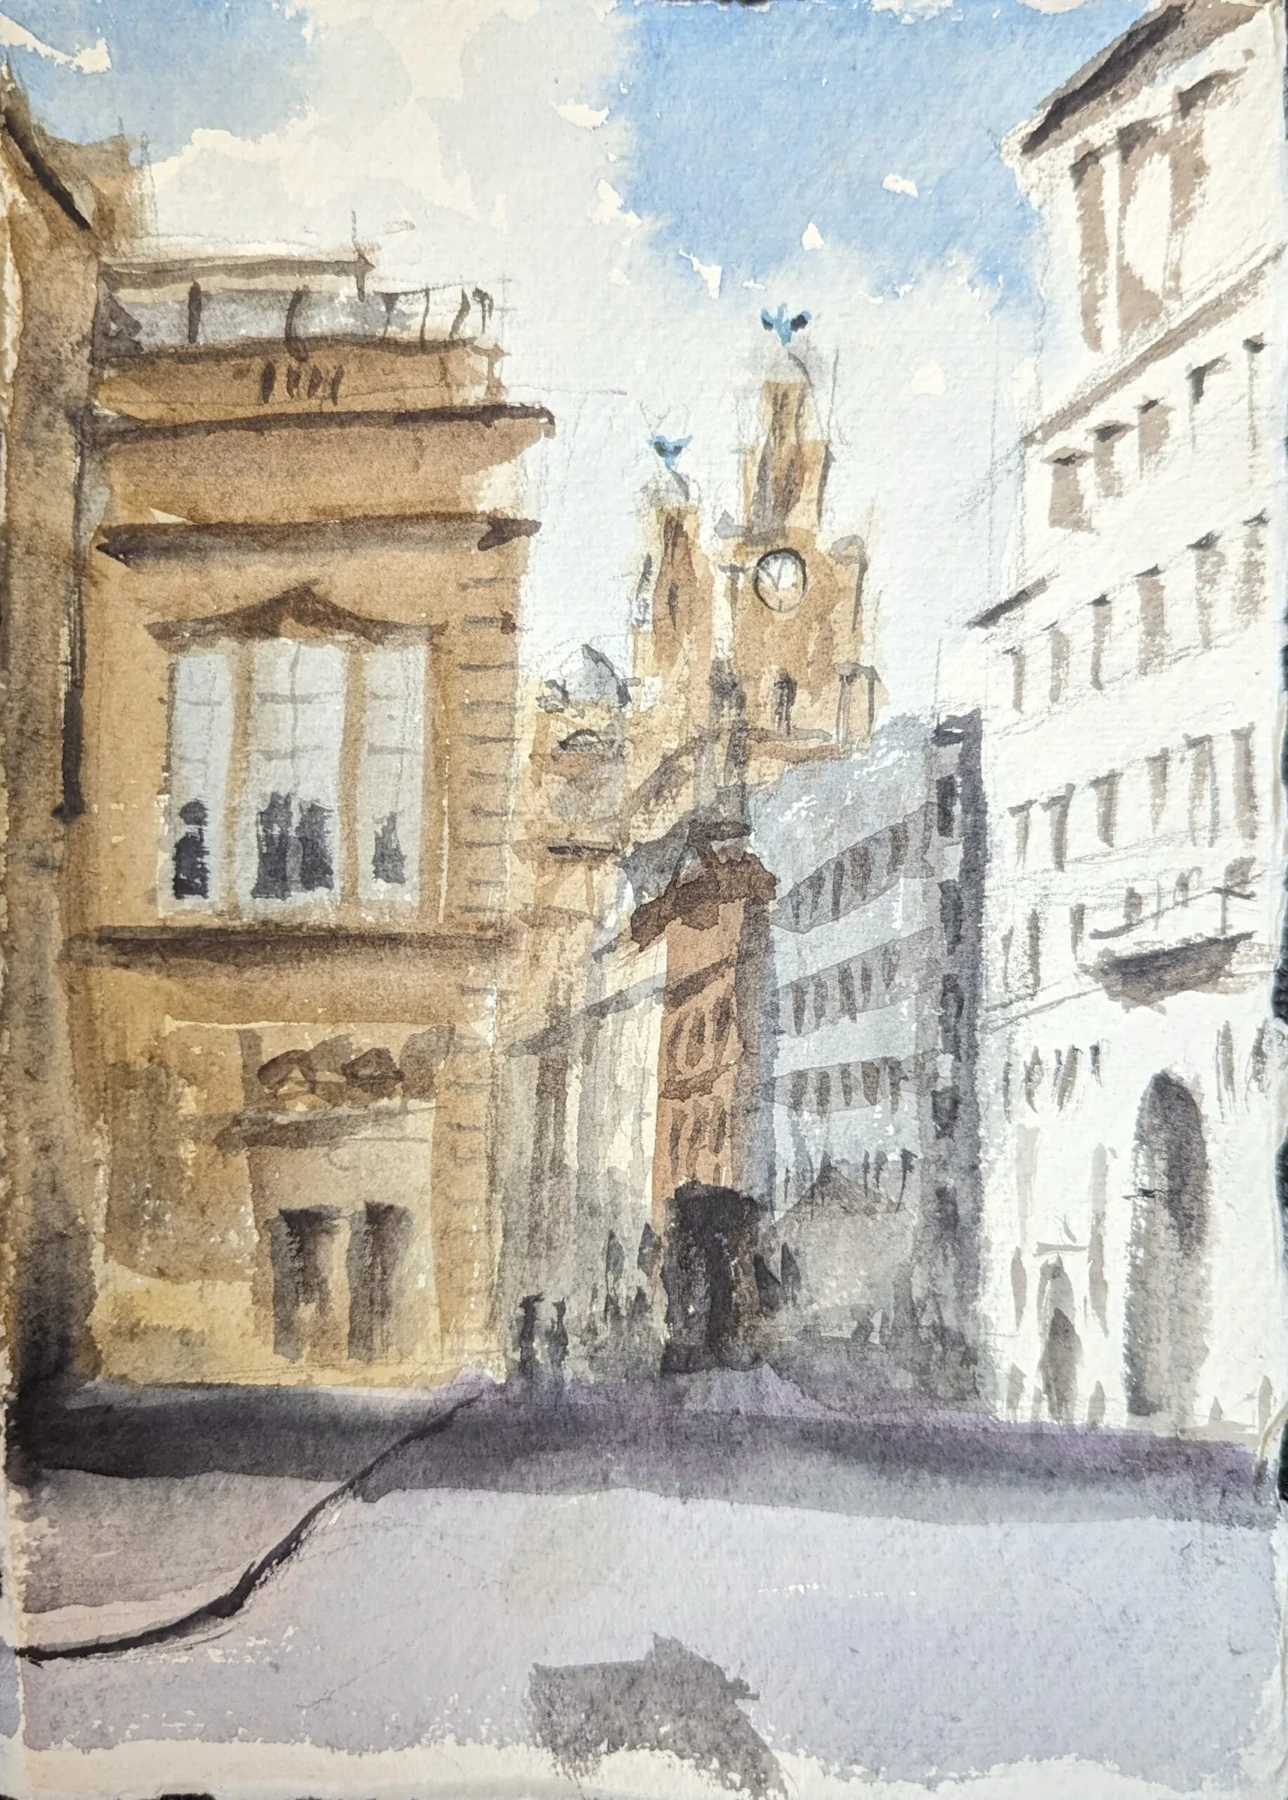
A useful one-point study begins when you look roughly straight along a set of parallel edges: a street, corridor or row of aligned tables. Edges running away from you converge towards a shared point on your eye-level line. Front-facing vertical and horizontal edges remain upright and level in this simplified, level-view setup. Real streets may bend, buildings may rotate and pavements may slope. Choose a simpler stretch while learning.
Place three decisions first
Mark your eye level, the main convergence point and the width of the nearest visible opening. Draw the two big receding edges lightly. Add one cross-street or doorway to establish scale, then build the scene around those anchors. Check the angle you actually see rather than automatically aiming every roof at the same point; sloping roofs have their own geometry. A vanishing point is a helpful explanation, not a hoover for every line on the page.
Let distance lose detail
The intervals between repeated features appear narrower with distance. Begin with a few large divisions and compress the far ones. Windows at the distant end may become a rhythm of short marks. If the foreground and background receive identical line weight and detail, the street can feel like a flat catalogue. Preserve enough information to show the direction of travel, then let the eye do some walking.
Your turn · 25 minutes
Take it to the page.
- Observe a straight corridor or street from a fixed position.
- Mark eye level and compare two receding edges before drawing them.
- Add repeated features that become closer together towards the distance.
Look back: Do the main edges agree about where the street is going?
Sources & further looking
Close-looking observations and practical exercises are this publication’s interpretation. Illustration credits are shown beside each work.